Transparent Images Tutorial - GIFworks
What is this tutorial about?
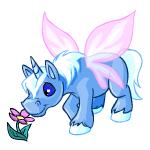
As you know most images on neopets come with a white background around them. This can be rather ugly if you're trying to make a layout with a dark background. This tutorial will teach you how to simply remove the white background around the image by using an online tool called GIFworks. Below you can see an example of a transparent image, in case you are confused about the purpose of this tutorial.
 |
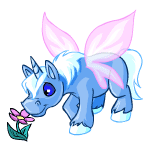 |
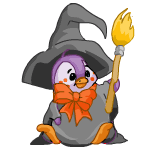
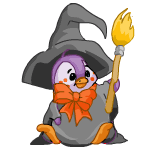
As you can see in the image above, this program does not work optimally on images that contain white. This program turns all the white in an image transparent. You can see this in the tail, manes and hooves of the Uni. However, there are no problems in images without any white other than the background, as you can see in the Halloween Bruce image below.
 |
 |
What do you need?
For this tutorial you do not need any programs. You just need to go to GIFworks.com. This website is completely free and won't even require you to make an account.
Note: your image must be a .GIF image in order for you to use this online web tool. JPG images do not support being transparent. If you would like to make your JPG image transparent, try resaving it as a .GIF extension first. MS Paint is not the best program to use for this, as it will ruin the quality of your image. Better is resaving in a different program such as irfanview. For more info on irfanview, try step 4 of our Blinkie Tutorial for Paint.
Step 1: Choosing an image
First you need to choose which image you want to turn transparent. For this tutorial we will use the Faerie Uni image that is shown above. Once you've chosen, right click on your image, and select properties. Here you will need to copy the image URL. To follow the example of the Faerie Uni, our image url is:
http://images.neopets.com/new_shopkeepers/1618.gif
Please note that you can also use an image that is saved on your computer's hard drive, if you choose to use an image from your computer, you don't have to do anything at this step.
Step 2: Getting your image in GIFworks
Now it is time to go to GIFworks.com. If you visit this url you will see a page with 6 dropdown menus at the top. In the first drop down menu, click on 'Open Image'
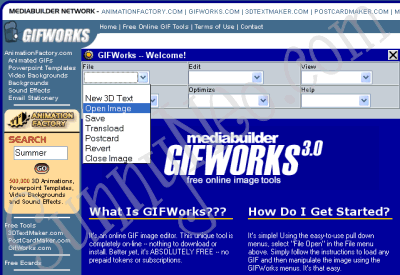
You will be taken to a new page that describes two methods of getting the image you want to use into the online program. For this tutorial we use method one, of using an image that is already online (our Faerie Uni). But you can also use method two if you want to use an image that is already on your hard drive.
In the field that says 'http://' you paste the image url that you have copied in step 1, and then you click on 'Fetch Image'.
Step 3: Making your image transparent
After you clicked on fetch image, you will be taken to a screen that shows your image, and above it the same 6 menu's as you've seen before. In menu 2 (Edit) you will see an option called 'Transparify'. Click on this option.
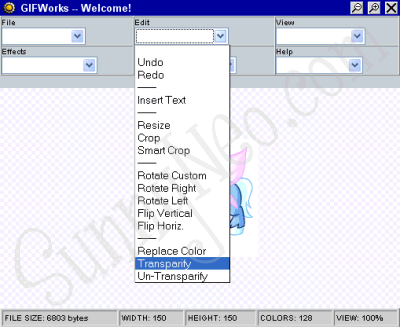
After this you will get a small popup window asking you to click on the colour you wish you make transparent. Click on the white background.
After this the popup window will close and you will find that your GIFworks editor has updated itself. It will now show the same Faerie Uni, but this time the background is no longer white, but checkered. This means that your image now has a transparent background. Hurrah!
Step 4: Saving the image
If you want to continue to use this image (on your petpage for example), you have to save it and upload it elsewhere. You cannot hotlink to the image on GIFworks, because it will be deleted after 3 hours.
In order to save your image, right click on the image, and select the option 'Save image as...'
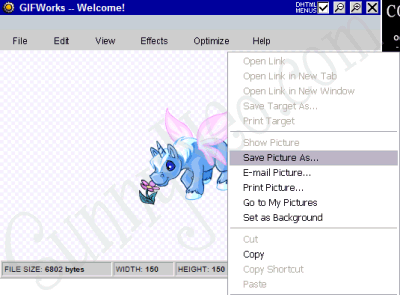
Now you can select a location on your computer to save it at. If you wish to upload your image somewhere and don't know how, please refer to our Uploading Images Tutorial.

 {{ loadingMessage || 'Loading, one moment please'}}

